Is dyeing your hair at home really reliable?
Are the tools optional?
tools orTo be honest, many people fail when they try DIY hair dyeing for the first time, not because the hair dye is bad, but because they choose the wrong tools, or don’t choose any at all.
itself butUneven color, missed roots, and a messy hand and bathroom—these are not problems with the hair dye itself, but rather caused by improper tool configuration.
This article will focus on a core objective:
to find the most cost-effective and truly useful tools without pursuing “salon-level luxury configurations”.
Table of Contents
1. Why do home hair dye tools determine the success or failure of hair coloring?
Many top-ranking search results repeatedly emphasize a consensus:
hair dye determines the upper limit of color, while tools determine the lower limit.
In other words, even if you choose the right color, the final result may still be a disaster if the tools are not suitable.
Common pain points of home hair coloring include:
- The hair dye was applied unevenly, resulting in inconsistent color shades.
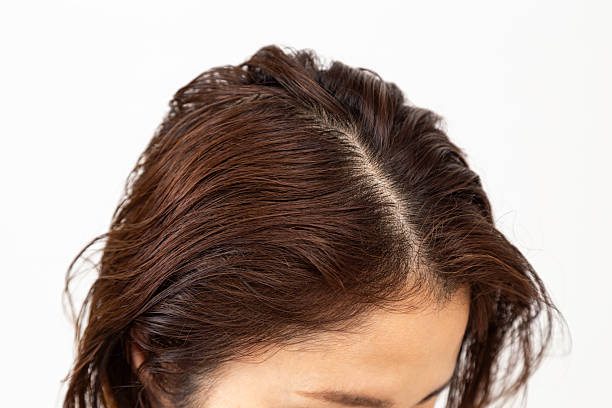
- difficult,Applying dye to the roots is difficult and it’s easy to miss some areas.
- The hair dyeing process is chaotic, and the dye stains clothes and skin.
- The operation time is too long, resulting in a very poor user experience.
These problems can essentially be solved with a suitable home hair dye tool.
II. What conditions should a home hair coloring tool with the best cost performance meet?
Before discussing “recommendations,” let’s clarify the criteria.
Truly cost-effective tools typically possess the following characteristics:
- Configuring practicality, not just the number of heaps.
- Durable material, reusable
- Beginner-friendly, no learning curve required.
- The price is reasonable and significantly lower than salon tools.
If a tool kit looks professional but actually makes it more difficult to use, then it is not suitable for home use.
III. Essential Tools for Home hair coloring (Sorted by Usability)
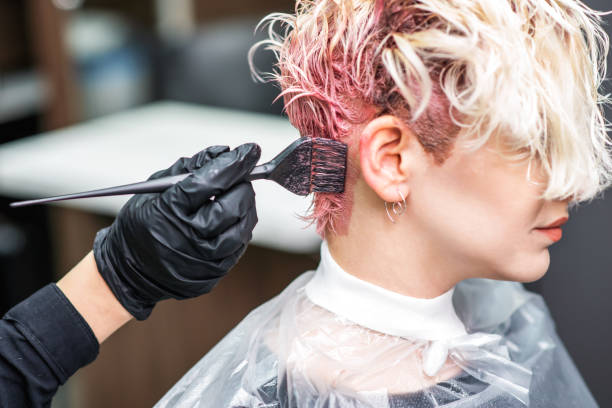
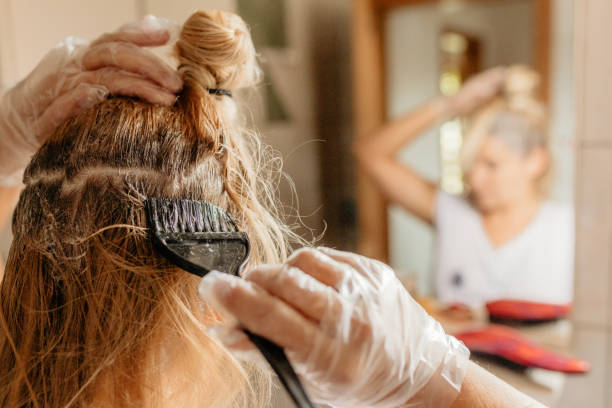
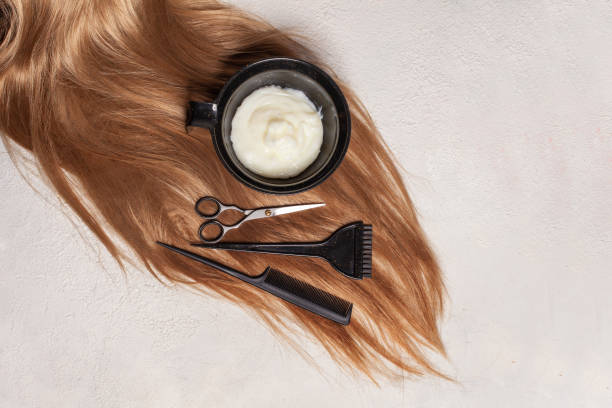
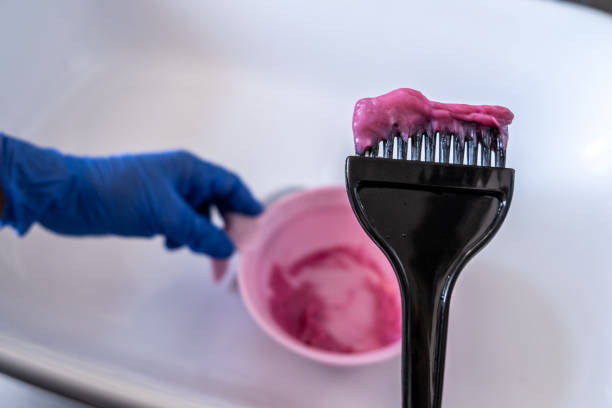
Hair dye brush: A key tool for determining evenness
Among all home hair coloring tools, the role of hair dye brushes is seriously underestimated.
A good hair coloring brush should have the following features:
- The bristle density is moderate.
- The front end is slightly stiff, making it easier to work at the roots.
- The brush width is suitable for quick color application.
Many DIY dyeing failures are actually due to brush bristles being too soft, making it impossible to spread the dye.
brush insteadCost-effectiveness recommendation:
You don’t need to go for “professional salon brushes,” but you must choose a dedicated hair coloring brush, instead of just using any substitute.
Color mixing bowl (with scale): An invisible tool for stable color development
If you are using a hair dye that requires mixing, a mixing bowl is almost essential.
- Why are the scale markings important?
- Different proportions result in significant differences in color depth.
- The scale can reduce the error of “gut feeling” color mixing.
- Very friendly to repeated hair coloring
issue butMany people experience inconsistent hair color when dyeing their hair at home, which is not actually a quality issue, but rather a problem with the proportions used.
Partitions: Tools that make DIY easier
Partition clips do not directly participate in staining, but they can significantly reduce the difficulty of operation.
Reasonable partitioning can:
- Avoid repeated coloring
- Improve overall uniformity
- Reduce hair coloring time
For people with thick hair, sectioning clips are almost a must-have.
Gloves and shawls: The experience often comes from the details.
These tools do not affect the color development of hair dye, but they can greatly impact the user experience.
- Gloves: to prevent hand staining
- Shawl: Reduces clothing pollution
It may seem basic, but it’s one of the reasons why many people “don’t want to dye their hair themselves again next time.”
IV. Cost-effective hair dye tool combinations for different user groups
Beginner’s Guide (First Time DIY)
Recommended configuration:
- Hair dye brush × 1
- Palette bowl (with graduations) × 1
- Folders × 2–4
- Disposable gloves × several
This combination is sufficient for most home hair coloring scenarios, with low cost and a low learning curve.
I often dye my hair at home (to maintain the color/cover gray hair).
If you need to use it frequently, we recommend upgrading:
- Dual brush heads (wide brush + pointed tail brush)
- More durable color bowls
- More secure partitions
For reusable tools, material stability is more important than “quantity.”
For advanced DIY users (partial dyeing/gradient/highlighting)
This group values a sense of control more.
We recommend focusing your investment on:
- Pointed tail brush
- Fine partition folder
- Anti-dyeing cream application tool
These tools can significantly improve the precision of hair dyeing, but they don’t need to be expensive.
V. How to determine if a hair dye tool is a “scam”?
A simple principle:
if it doesn’t make operation simpler and more stable, then it’s not worth it.
The following situations require caution:
- The design is complex, but the usage steps are cumbersome.
- It looks very professional, but it’s difficult to clean.
- The price is significantly higher than similar products, but there are no core differences.
The most cost-effective household tools are often those that “look ordinary but are easy to use.”
VI. Practical suggestions for combining tools and hair dye
Many top-ranked results emphasize that
tools and hair dye are a combination, not separate choices.
Practical styling suggestions:
- Foam type → Partition clip + auxiliary brush
- Cream type → Brush + graduated bowl
- Darker colors → Greater emphasis on uniformity
- Lighter colors → Greater emphasis on precision
Understanding this can significantly reduce the cost of trial and error.
7. Six practical details to improve the success rate of home hair dyeing
These are the parts that come from practical experience, beyond the tools themselves:
- Set out the tools before dyeing your hair.
- Dye the roots first, then the mid-lengths.
- Complete each area in one go, without repeated application.
- Control the dwell time according to the instructions.
- Thoroughly clean tools after dyeing to avoid residue.
- Extend the effect when used with color-protecting shampoo and conditioner
What many people overlook is that
the habits of using tools are themselves a part of technology.
FAQ: Frequently Asked Questions about Home Hair Dye Tools
Q1: Is it okay to use only gloves and not a brush?
Yes, but the coloring uniformity will decrease significantly, so it is not recommended to do this for a long time.
Q2: Do I need to buy all the household tools at once?
No need. Prioritize basic tools and gradually add more based on usage frequency.
Q3: Will tools affect color development?
Yes. Especially brushes and mixing tools, which have a significant impact on the final color.
Q4: How do I clean the tools after use?
Warm water and a neutral detergent are sufficient; avoid letting the dye dry out.
Conclusion: Truly high-quality, cost-effective hair dye starts with the right tools.
At-home hair dyeing is never a “cheap, makeshift solution.”
When you choose the right tools and follow a consistent process, hair dye can achieve professional, clean, and controllable results.
Instead of repeatedly changing tools, it’s better to configure the basic tools first.
This is the most cost-effective, yet most easily overlooked, step.