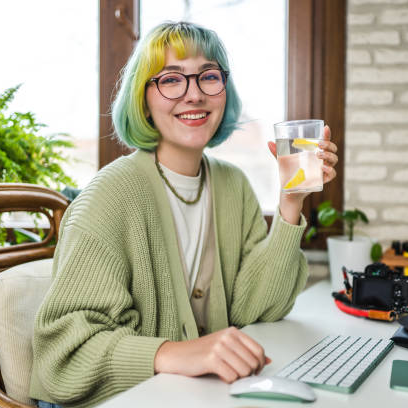
Shooting hair dye photos in a studio might sound simple: beautiful hair, good lighting, and just press the shutter. But in reality, you’ll find that the same hair dye can look completely different under different lighting and angles. Sometimes the photos look dull, even leading clients to believe the color is unsatisfactory.
Don’t panic. This doesn’t mean you’re unprofessional; it simply means that many details are easily overlooked when shooting hair-dyed photos in a studio. For example, improper lighting, unsuitable shooting angles, or excessive or inaccurate post-processing. Mastering scientific and flexible shooting techniques will not only ensure your work has realistic colors and natural shine but also fully showcase the hair’s layers and gradient effects.
Table of Contents
I. Pre-shoot preparation: Define the shooting objectives and style
When shooting hair dye at a photo studio, the first step is to define the style you want to convey. Different styles have different requirements for lighting, background, and shooting angles.
1. Communicate with the stylist/hairdresser
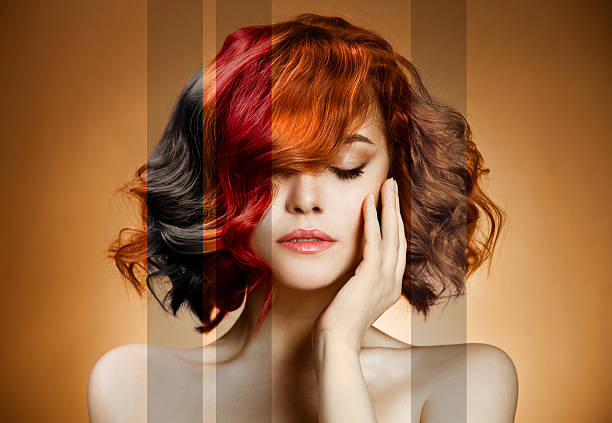
- Key points to consider when choosing hair dye: Is it a gradient, a bright color, a warm/cool color, or a subtle, natural color?
- Define your shooting objective: Is it to emphasize gloss, depth, or creative color effects?
- Tip: Thorough communication before the shoot saves time compared to adjusting colors on the fly after taking hundreds of photos.
2. Proof testing
Before the official shoot, take a few sample photos with your phone or camera:
- Check if the colors are true to life under natural light.
- Observe whether the shadow obscures the hair dye
- Testing light reflection at different angles
This allows problems to be identified in advance, avoiding repeated adjustments at the photo studio and saving time and effort.
3. Psychological preparation
When shooting hair dye, the color may appear slightly different due to lighting and lens settings, which is normal. Don’t worry too much about “perfection”; what’s more important is capturing the hair’s shine and texture.
II. Lighting Setup: The Soul of Hair Dye Photography
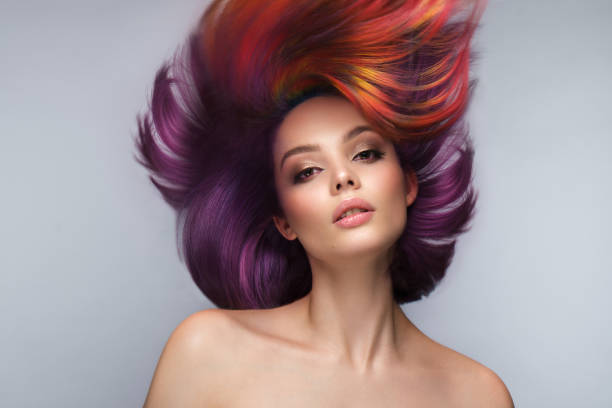
Lighting is crucial to the success of hair dye photography in a studio. Even if the hair dye itself is beautiful, without suitable lighting, the photo may appear dull or have a color cast.
1. Natural light vs. artificial light
- Natural light: produces the most realistic colors and clearest details, making it especially suitable for light and cool-toned hair colors.
- Artificial light: ring lights, softboxes, etc., can simulate natural light and are essential on cloudy days or in studio environments.
- Ring light: Makes hair color even and soft.
- Softbox: Increases the area of light coverage, making gradients more natural.
Note: Direct sunlight and strong backlighting can easily cause hair details to be lost and the color to appear darker or yellowish.
2. Lighting layout (three-point lighting setup for the photo studio)
- Key Light: Located slightly to the side in front of the model, it determines the overall brightness and color.
- Fill Light: Softens shadows and enhances details.
- Back/Hair Light: Highlights contours and shine
If you only have one light, you can use a reflector to fill in the light. Although it’s not as complete as three-point lighting, it can still create a sense of depth in your photos.
3. Lighting Tips
- A lighter hair dye is suitable for a dark background, making the colors stand out more.
- Dark hair dye is suitable for bright backgrounds, highlighting the outline of the hair strands.
- Try side lighting or backlighting to make the gradient colors and highlights appear more three-dimensional.
III. Shooting Angle and Lens Selection
1. Multi-angle shooting
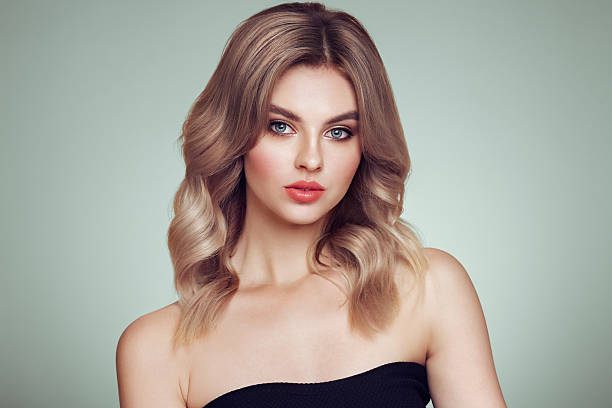
- Front: Showing the overall design
- Side view: Showcasing gradients or warm/cool colors
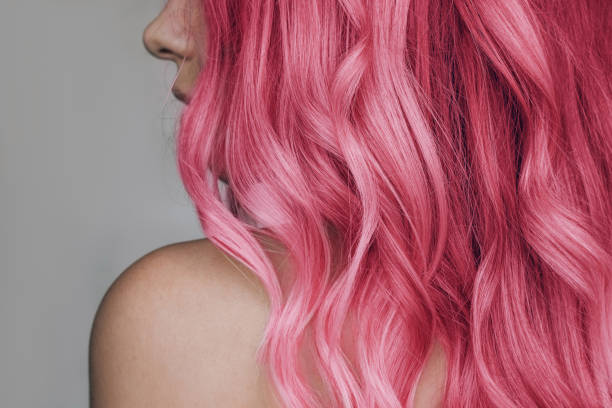
- Back side: Emphasizing layers and gloss
Tip: Sometimes the shine of a small tuft of hair on the side is more eye-catching than from the front.
2. Lens focal length
- 50–85 mm is ideal to avoid perspective distortion.
- When shooting close-ups, focus on the area with the richest colors.
- Avoid digital zoom, as it will distort the image of individual hair strands.
3. Focusing and lens cleaning
- Wipe the lens with a soft cloth before shooting.
- Focus on the details of the hair strands, not the face.
- Ensure that the layers and gradients are clearly visible.
IV. Background Selection and Overall Coordination
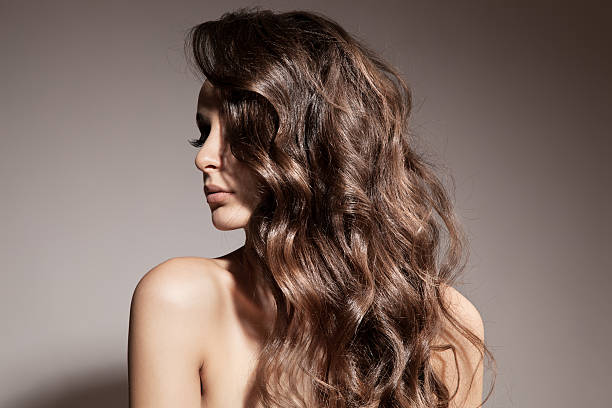
Background selection affects visual focus. A wrong background can make hair color look dull or messy.
1. Simple background
- White, gray, and black are the most commonly used colors.
- A solid color background can highlight the color and avoid visual interference.
2. Contrast between background color and hair color
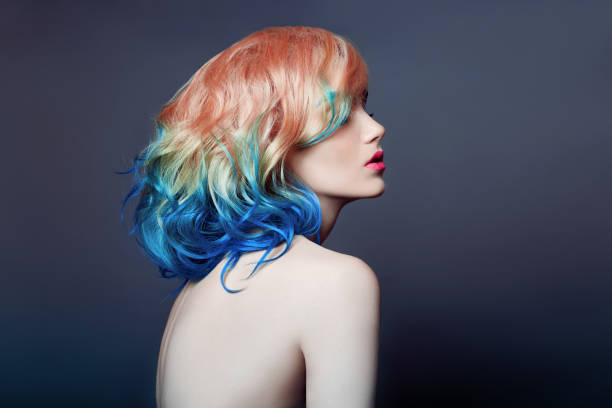
- Light hair color + dark background → more saturated colors
- Dark hair color + light background → Clear hair outline
You can use gradient or soft backgrounds to add an artistic touch, but the hair color must be the visual focus.
V. Post-processing: Naturalness is key
Post-processing can not only improve the image but also correct minor deviations during shooting, but it is important to avoid over-processing.
1. Color Correction
- Use a white card or gray card to correct the white balance.
- Avoid shades that are too blue or too yellow.
2. Local enhancement
- Slightly enhances hair shine and sharpness
- Adjust the contrast to highlight the layers
Tip: Overusing filters can cause distortion; slight adjustments are sufficient.
VI. Practical Examples
For shooting gradient hair dye, you can refer to the following:
- Lighting setup: Main light from the front side, fill light for soft illumination, and backlight to highlight hair strands.
- Sample test: Take 5-10 photos to confirm color.
- Shooting from multiple angles: front, side, and back.
- Post-processing color temperature correction and local detail enhancement
- Final result: distinct layers, natural gloss, and true colors.
VII. Collection of Photography Tips
- Enhance shine: Lightly spray hair oil onto hair strands to increase shine.
- Hair color gradation: By combing and photographing in sections, the gradation becomes more natural.
- Dynamic effect: Capturing a gentle head shake makes the colors more vivid.
Tip: Don’t rush to shoot all the angles at once; shooting in stages makes it easier to control the light and details.
8. Frequently Asked Questions (FAQs)
Q1: Why does the same hair color look different under different lighting conditions?
The color temperature and direction of the light source will result in significant differences in color presentation. Natural light is the most realistic, while artificial light requires white balance correction.
Q2: Can I take professional-looking photos with my phone?
Yes, as long as the lighting, angle, focus, and post-processing color control are all done well.
Q3: How to avoid having your hair look plain?
Use sidelight or backlighting to enhance the depth of the image, shoot from multiple angles, and choose a contrasting background.
Q4: Can I completely change my hair color later?
Minor adjustments are possible, but excessive modifications will result in a loss of realistic texture; preserving the hair’s layers is the key.
Q5: Is special hair care required before the shoot?
It is recommended to do a light hair treatment or hair mask before hair dyeing to make the hair smoother and shinier during the photoshoot.
IX. Conclusion
Studio hair dyeing photography is more than just pressing the shutter; it’s a comprehensive art form encompassing light, angles, composition, and post-processing. Mastering these techniques will enable you, whether you’re a photographer, stylist, or brand content creator, to produce authentic, professional, and eye-catching work.
Friendly reminder: For your first photoshoot, start with natural colors and gradually explore gradient or brighter colors. With practice, you’ll find that studio hair dyeing photoshoots are both fun and can enhance the commercial value of your work.
Want to easily achieve professional studio-quality hair dye results at home? Try our exclusive hair dye products for shiny, long-lasting color in every strand of hair.